Save to Pinterest
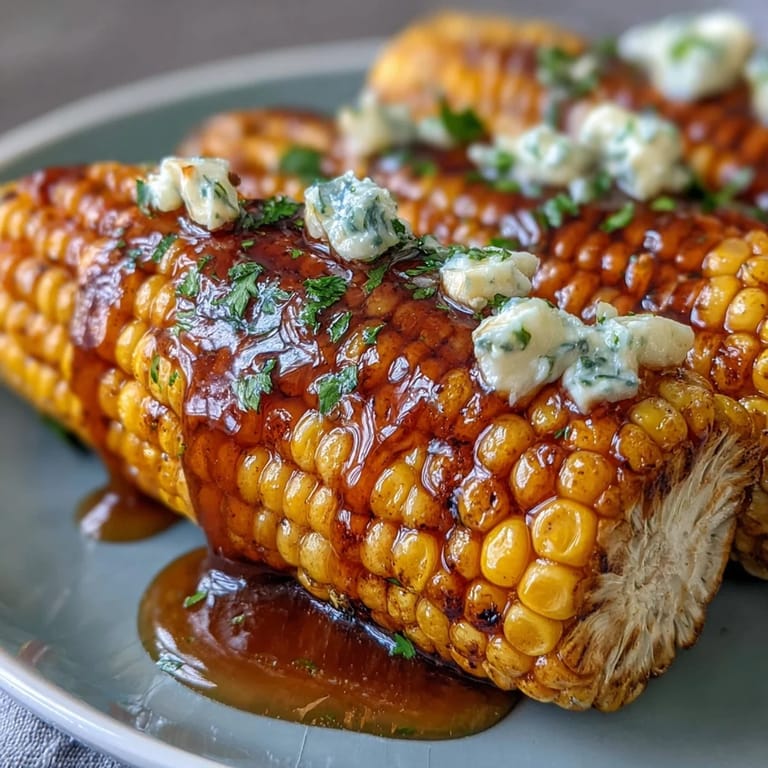
 There was this one summer evening when my neighbor showed up with an armful of corn from the farmer's market, and I had maybe fifteen minutes before guests arrived. I'd always thought corn on the cob required a massive pot of boiling water and careful timing, but that night I did something desperate and brilliant at the same time—I threw it in the microwave with a damp paper towel and waited. When those kernels came out impossibly tender and juicy, I realized I'd been overthinking it for years. Now it's my go-to trick whenever I need a vegetable that feels special without any fuss.
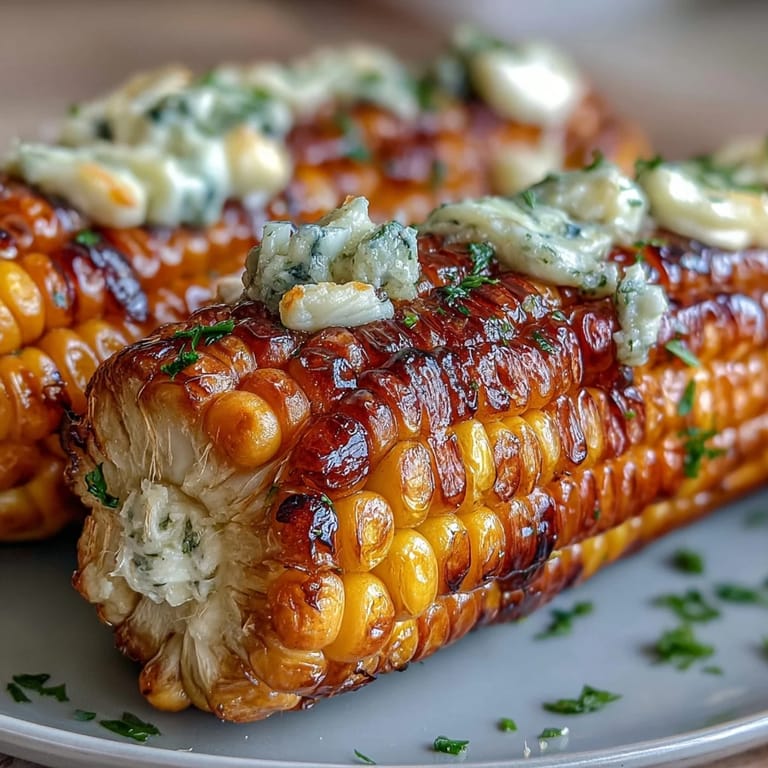
I made this for a backyard gathering where someone had forgotten to bring a side dish, and instead of panicking, I microwaved four ears and slathered them with that golden garlic butter. People kept coming back for more, asking what made them taste so good, and I loved that the secret was this ridiculously easy method nobody expects. It became proof that sometimes the fastest solutions are also the most delicious ones.
Ingredients
- Fresh corn, husked: The whole dish hinges on starting with corn that's actually sweet and fresh—if yours has been sitting around, it'll taste starchy instead of tender, so pick ears that feel heavy for their size.
- Unsalted butter: You're controlling the salt yourself here, so unsalted lets you dial it in perfectly without that flat, over-salted feeling.
- Fresh garlic, minced: Jarred garlic won't give you that sharp, alive quality; spending thirty seconds mincing real cloves makes a real difference in how the butter smells and tastes.
- Fresh parsley: This is optional but honestly worth including because it adds a bright pop of color and freshness that makes people notice.
- Salt and black pepper: Freshly ground pepper matters here since you're tasting it directly in the butter, not hidden in a sauce.
Tired of Takeout? 🥡
Get 10 meals you can make faster than delivery arrives. Seriously.
One email. No spam. Unsubscribe anytime.
Instructions
- Prepare and microwave the corn:
- Lay your husked ears on a microwave-safe plate and drape them with a damp paper towel—this traps steam and keeps the kernels from drying out. Microwave on high for four to six minutes, turning the corn halfway through, and you'll hear it start to smell sweet and tender; when you poke a kernel and it gives easily, you're there.
- Let it rest briefly:
- Give it one minute out of the microwave before you touch it, which lets the cooking finish gently and makes the kernels less likely to be tough.
- Make the garlic butter:
- In a microwave-safe bowl, combine your cold butter with the minced garlic and microwave for about thirty seconds until it's melted and smells almost aggressively garlicky in the best way. Stir in your salt, pepper, and parsley right away so the flavors meld.
- Brush generously and serve:
- Use a pastry brush to coat each ear with that golden garlic butter, working it into the crevices between the kernels. Serve immediately while everything is still warm and the butter is glossy.
 Save to Pinterest
 There's something about a plate of buttery corn that instantly makes people relax, like it takes them back to childhood summers or simpler times. The moment you set it down, everyone stops what they're doing and reaches for a piece, and suddenly you're the person who made something that matters.
Flavor Variations That Actually Work
Once you nail the basic version, you can start playing around without losing what makes it special. I've added a pinch of smoked paprika to the garlic butter for a subtle depth, and I've also tried grated Parmesan that clings beautifully to the warm kernels. Even just a squeeze of fresh lemon juice over the top right before serving brings everything into focus, cutting through the richness in a way that feels sophisticated but still simple.
The Microwave versus Boiling Question
I know there are strong opinions about how to cook corn, but the microwave method wins on speed and moisture every single time. Boiling can make corn waterlogged unless you're incredibly careful with timing, and by the time you've filled a pot and waited for it to heat, you could have already finished microwaving. The dry-heat approach the microwave creates actually keeps the natural sugars more concentrated, which means the corn tastes sweeter and more alive.
Storage and Leftovers
If by some miracle you have leftover corn (though it rarely happens), wrap it loosely and refrigerate it for up to two days—it's honestly good cold the next morning, almost like a vegetable snack. That garlic butter you made keeps even longer in a small jar in the fridge, and you can spread it on bread, melt it over vegetables, or honestly just eat it with a spoon when you're having a moment.
- Make extra garlic butter while you're at it because you'll want it on other things too.
- If you wrap individual ears in wax paper before microwaving, they steam in their own little packages and come out even juicier.
- Room-temperature corn is actually delicious at picnics or as a snack, so don't stress if it sits for a while.
 Save to Pinterest
 This recipe proved to me that sometimes the best cooking happens when you're working with a time constraint instead of against one. There's real joy in making something taste like you care without spending an hour in the kitchen.
Recipe FAQs
- → How do I ensure the corn cooks evenly in the microwave?
Rotate the corn halfway through microwaving to promote even heat distribution and tender kernels on all sides.
- → Can I make the garlic butter ahead of time?
Yes, garlic butter can be prepared in advance and stored refrigerated for up to one week, maintaining its flavor.
- → What variations can enhance the garlic butter flavor?
Adding grated Parmesan or smoked paprika to the garlic butter offers extra depth and a subtle smoky or cheesy note.
- → Is it necessary to cover the corn while microwaving?
Covering the corn with a damp paper towel traps steam, helping kernels cook evenly and stay moist.
- → How can I keep corn juicy when microwaving?
Wrapping each ear in wax paper before cooking helps retain moisture, resulting in juicier kernels.