 Save to Pinterest
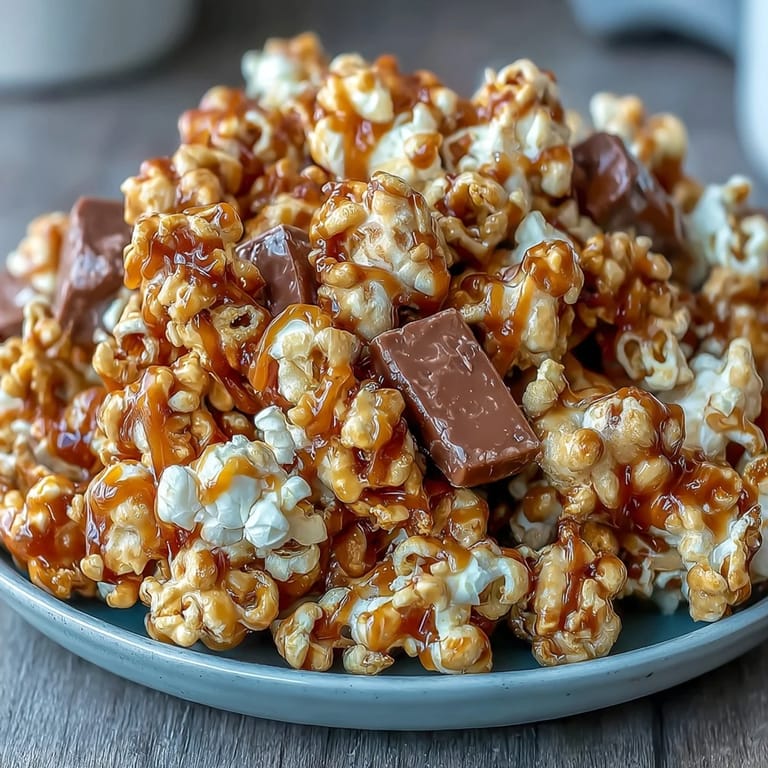
 My kitchen smelled like burnt sugar the first time I tried making caramel corn from scratch, and I nearly gave up before discovering that patient stirring and a candy thermometer were my friends. Years later, a neighbor casually mentioned tossing in dried apples and colorful candies, and suddenly this simple snack became the thing people actually requested at movie nights. Now when I make this, I realize it's not just about feeding a craving—it's about that moment when everyone stops talking and starts crunching, the way the kitchen fills with warmth and possibility.
I made this for my sister's book club one autumn afternoon, nervous that homemade candy corn might seem too casual for the group. Instead, it disappeared within minutes, and three people asked for the recipe before they left. One friend admitted she'd been buying expensive versions from specialty shops when she could make this herself, which felt like the highest compliment possible.
Ingredients
- Popcorn kernels (1/2 cup or 10 cups popped): Fresh popcorn is essential here—day-old loses its tender texture and won't soak up the caramel the same way.
- Unsalted butter (1/2 cup): Unsalted gives you control over the final salt level, which matters more than you'd think when the caramel reduces.
- Light brown sugar (1 cup, packed): The molasses in brown sugar adds depth and keeps the caramel from tasting one-dimensional.
- Light corn syrup (1/4 cup): This prevents crystallization and keeps your caramel glossy instead of grainy—don't skip it thinking it doesn't matter.
- Salt (1/2 teaspoon): A tiny pinch here amplifies every other flavor, especially the sweetness of the apples and candy.
- Baking soda (1/4 teaspoon): This is the secret weapon that makes the popcorn crispy instead of chewy—it aerates the caramel as it sets.
- Pure vanilla extract (1/2 teaspoon): The real stuff transforms this from good to memorable, adding warmth you can't quite name.
- Dried apple rings, chopped (1 cup): These stay pleasantly chewy and provide brightness against all that sweetness.
- Candy-coated chocolate pieces (3/4 cup): Add these after cooling so they don't melt into the popcorn—the color and texture are half the fun.
- Salted peanuts (1/2 cup, optional): They add protein and a savory contrast, but leave them out if allergies are a concern.
Tired of Takeout? 🥡
Get 10 meals you can make faster than delivery arrives. Seriously.
One email. No spam. Unsubscribe anytime.
Instructions
- Get your setup ready:
- Preheat your oven to 250°F and line a large baking sheet with parchment paper. This low, slow heat is what keeps the popcorn crispy instead of burning it into dark, bitter bits.
- Pop your popcorn:
- Use whatever method you prefer—stovetop, air popper, microwave. Place it in a large mixing bowl and pick out any unpopped kernels before they crack a tooth later.
- Build the caramel:
- Melt the butter in a medium saucepan over medium heat, then add brown sugar, corn syrup, and salt. Stir constantly and watch for the mixture to come to a boil—you'll know it's ready when it stops looking grainy and turns glossy.
- Let it bubble undisturbed:
- Once boiling, step back and let it cook for 4 to 5 minutes without stirring. Resist the urge to poke at it—the caramel needs this time to develop flavor and reach the right consistency.
- Add the magic:
- Remove from heat and immediately stir in baking soda and vanilla extract. The mixture will bubble up dramatically, which is exactly what you want—don't panic, it's supposed to do that.
- Coat everything evenly:
- Pour the caramel over your popcorn immediately and use a spatula to toss gently but thoroughly. Make sure every piece gets touched by that golden sauce, though this takes patience.
- Slow bake for crispness:
- Spread the coated popcorn onto your prepared baking sheet and bake at 250°F for 40 minutes, stirring every 10 to 15 minutes. This slow process ensures the caramel sets properly and the popcorn stays crispy throughout.
- Cool and break apart:
- Let it cool for 10 minutes on the sheet, then break apart any clumps that formed while it was still warm. Once completely cool to room temperature, it'll be perfectly crunchy.
- Add your finishing touches:
- Mix in the chopped dried apples, candy pieces, and peanuts if using. These go in after everything's cooled so they keep their texture and color.
- Store properly:
- Transfer to an airtight container and it'll stay fresh for up to 3 days, though honestly it never lasts that long in my house.
 Save to Pinterest
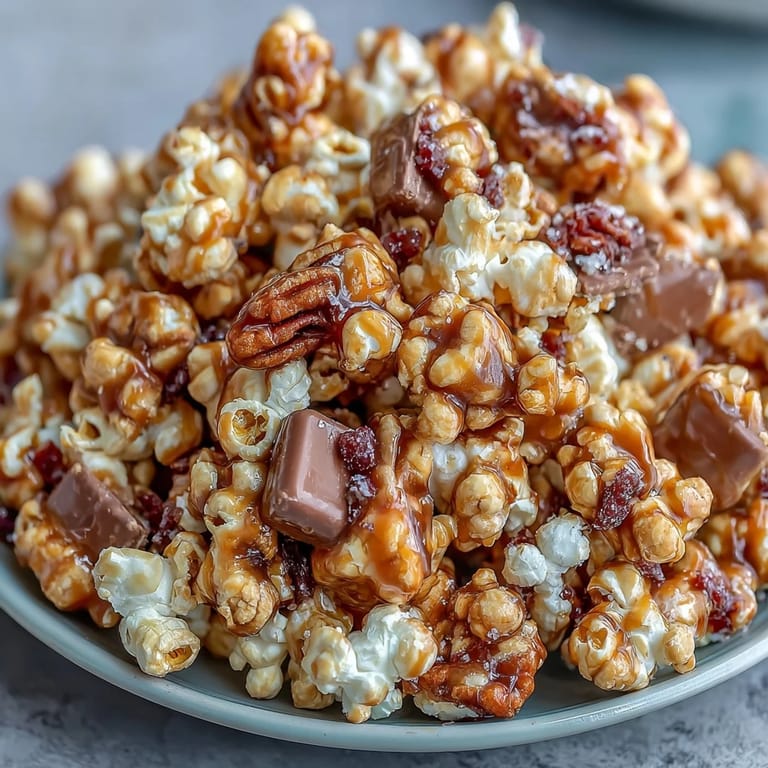
 There's something deeply satisfying about watching someone's face light up when they realize homemade candy popcorn tastes this good. I've learned that feeding people something you made with your own hands, even something simple, somehow says what words can't.
The Caramel Science
The magic happens when you understand what caramel actually is—melted sugar that's been brought to a specific temperature, which completely changes its behavior. When you add baking soda to hot caramel, you're creating tiny air pockets that cool into a crispy, shattered texture instead of the chewy kind. This is why slow baking matters so much too; if your oven's too hot, the caramel over-browns and tastes bitter instead of balanced and sweet.
Timing and Temperature Matter
I learned the hard way that letting your caramel boil for those crucial 4 to 5 minutes without stirring is non-negotiable. The first time I kept stirring, thinking I was helping, I ended up with grainy candy that felt gritty in your mouth instead of smooth. Now I set a timer, step away, and let chemistry do the work.
Customizing Your Mix
The beauty of this recipe is that it practically begs for your own spin. I've made it with cinnamon stirred into the caramel sauce for fall parties, and I've experimented with dark chocolate chips instead of candy-coated ones for dinner guests with refined tastes. The dried apples provide a tartness that's non-negotiable, but everything else is your playground.
- For a nut-free version, simply omit the peanuts and double-check that your candy pieces don't have allergen warnings.
- A light sprinkle of sea salt on top, added after cooling completely, adds sophistication without changing the recipe.
- If you prefer less sweetness, use 3/4 cup brown sugar instead of a full cup—you'll still get great results.
 Save to Pinterest
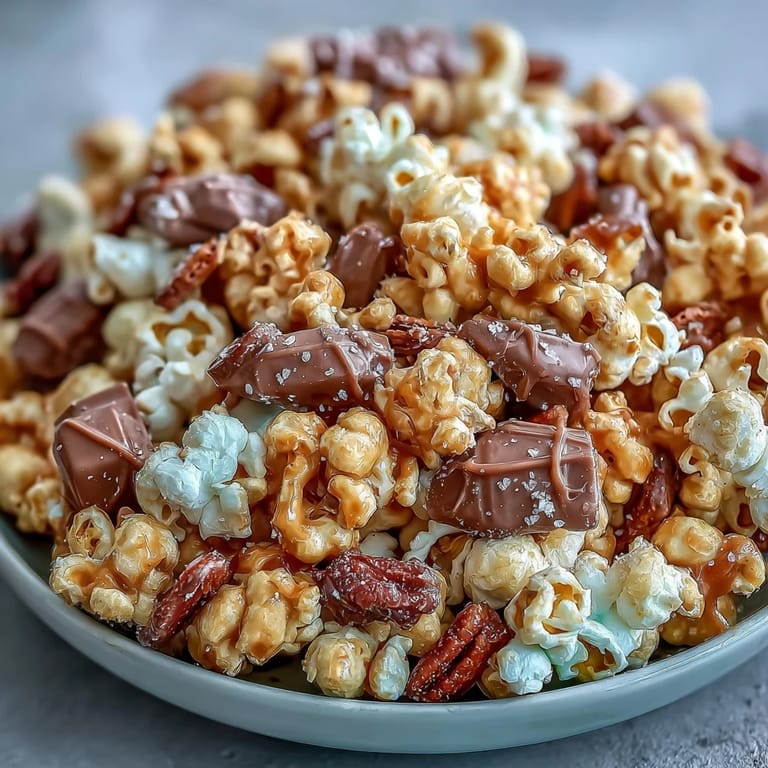
 This snack has taught me that simple ingredients, when treated with respect and a little patience, become something worth sharing. Make it once and you'll understand why people keep asking for more.
Recipe FAQs
- → How do I ensure even caramel coating on the popcorn?
Stir the caramel sauce constantly while heating and pour it immediately over warm popcorn. Use a spatula to gently toss and coat all pieces evenly before baking.
- → Can I substitute dried apples with fresh ones?
Fresh apples are too moist and will not hold well in this mix. It's best to use dried apple rings for the right texture and flavor.
- → What can I do to prevent the popcorn from clumping too much?
Baking the coated popcorn at a low temperature and stirring every 10–15 minutes helps to dry it out evenly and reduce large clumps.
- → Is it possible to make a nut-free version?
Yes, simply omit the salted peanuts to avoid nuts and still enjoy the sweet and crunchy blend.
- → How long does this blend stay fresh?
Stored in an airtight container, the mix stays crisp and enjoyable for up to 3 days.
- → Can I add spices to enhance the flavor?
Adding a sprinkle of cinnamon to the caramel sauce before coating adds a warm, subtle spice that complements the sweetness nicely.