 Save to Pinterest
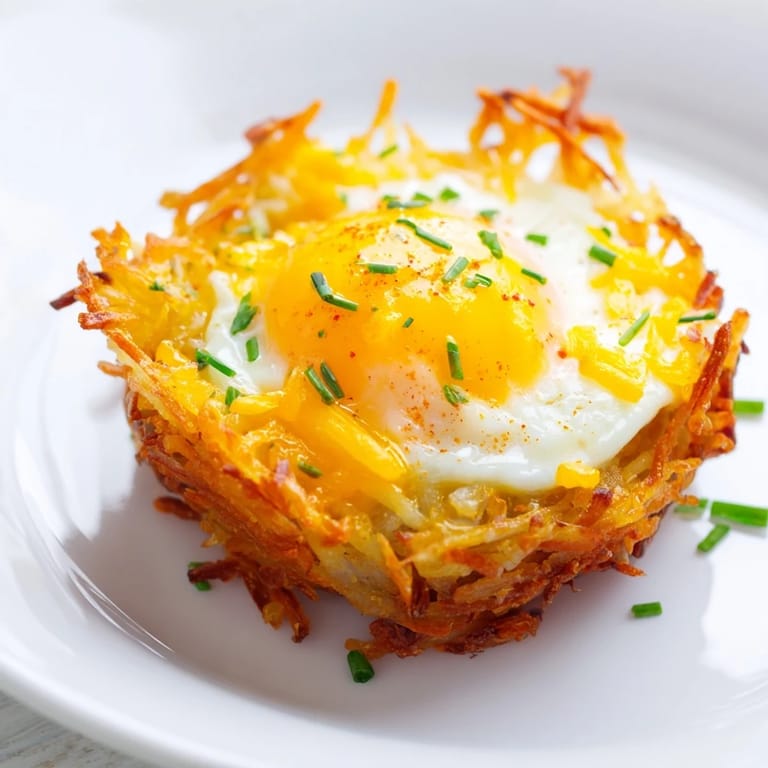
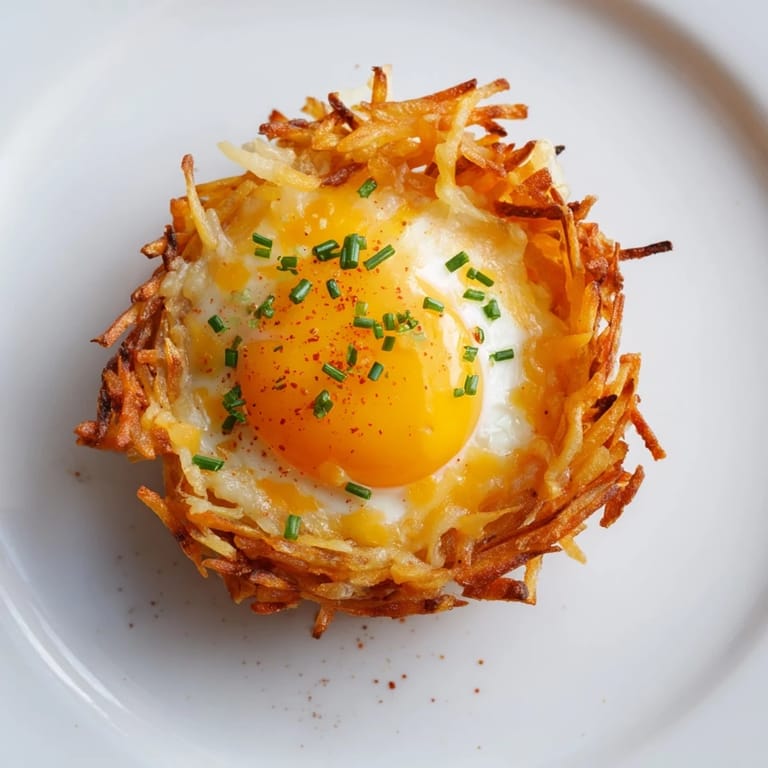
 One Saturday morning, I was trying to use up leftover potatoes and realized I had no bread for toast. I grabbed my muffin tin on a whim and pressed shredded potatoes into the cups, hoping they'd crisp up like hash browns. When I cracked eggs into those golden nests and pulled them from the oven, my kids thought I'd invented something magical. Now these little cups show up every weekend, and nobody misses the toast.
I started making these for brunch guests after a friend mentioned she loved hash browns but hated flipping them. Watching people pick up their own little nest and take that first bite, yolk running onto the crispy potatoes, became my favorite part of hosting. One guest asked for the recipe before she even finished eating. That's when I knew this wasn't just a clever trick, it was a keeper.
Ingredients
- Shredded russet potatoes: Russets have the right starch to crisp up beautifully, but you must rinse and squeeze them dry or they'll steam instead of turning golden.
- Melted butter: This coats every shred and helps the edges get that crispy, restaurant-quality finish you want.
- Eggs: Use the freshest ones you have, the yolks will be brighter and the whites will hold their shape better in the nests.
- Cheddar cheese: Sharp cheddar gives you the most flavor, but I've used pepper jack when I wanted a little kick.
- Scallions or chives: Fresh green onion flavor cuts through the richness and adds a pop of color that makes them look as good as they taste.
- Paprika: Just a pinch makes the tops pretty and adds a hint of warmth without any real heat.
Tired of Takeout? 🥡
Get 10 meals you can make faster than delivery arrives. Seriously.
One email. No spam. Unsubscribe anytime.
Instructions
- Prep the potato mixture:
- After shredding your potatoes, rinse them under cold water until it runs clear, then squeeze them in a clean kitchen towel like your life depends on it. Toss the dry shreds with salt, pepper, and melted butter until every piece glistens.
- Form the nests:
- Press about a quarter cup of potato mix into each muffin cup, pushing it up the sides to create a little bowl shape. Pack it firmly so it holds together when it bakes.
- Bake the shells:
- Slide the pan into your preheated oven and let those potatoes turn golden and crispy around the edges, about 15 to 20 minutes. The smell will remind you of the best diner breakfast you ever had.
- Add the fillings:
- Sprinkle a little cheese and some scallions into each nest, then crack an egg right into the center. Top with paprika and the rest of your cheese and greens.
- Finish baking:
- Return the pan to the oven and bake until the whites are set but the yolks are still soft, about 10 to 12 minutes depending on how runny you like them. Let them cool for a few minutes before gently loosening with a butter knife.
 Save to Pinterest
 The first time I made these for a birthday brunch, my daughter asked if we could have them every Sunday. Now they're our weekend ritual, and I've started switching up the fillings based on what's in the fridge. Sometimes it's leftover roasted vegetables, sometimes crumbled sausage, but the crispy potato shell stays the same. It's become less about following a recipe and more about sharing a moment together at the table.
Making Them Your Own
I've tucked cooked bacon bits, sautéed mushrooms, and even diced bell peppers into these nests, and every version has been a hit. The key is adding any extras before you crack the egg so everything bakes together. Don't be afraid to swap the cheddar for Swiss or pepper jack, each cheese brings its own personality to the table.
Storing and Reheating
These keep in the fridge for up to three days in an airtight container, and I reheat them in a 350°F oven for about 10 minutes to bring back some of that crispness. Microwaving works in a pinch, but you'll lose the crunchy edges. I've even frozen a batch and reheated them straight from the freezer when I needed a quick breakfast, though the texture is never quite as perfect as fresh.
Serving Suggestions
I usually put these out with a simple green salad dressed in lemon vinaigrette, or alongside fresh berries and melon for a lighter balance. Hot sauce is non-negotiable at our table, everyone has their own favorite bottle. A dollop of sour cream or a spoonful of salsa on the side turns them into something that feels a little more special without any extra work.
- Try serving them with avocado slices and a sprinkle of flaky salt for a California vibe.
- A side of turkey sausage or crispy bacon makes it a heartier meal.
- Fresh fruit and a strong cup of coffee complete the perfect weekend breakfast spread.
 Save to Pinterest
 There's something wonderful about handing someone a warm, crispy nest with a runny yolk in the middle and watching their face light up. These little cups have turned ordinary mornings into something worth waking up for.
Recipe FAQs
- → How do I make the potato nests crispy?
Bake the shredded potato mixture firmly pressed into muffin cups at 400°F for 15-20 minutes until edges turn golden and crisp before adding the filling.
- → Can I use different cheeses in the filling?
Yes, try Swiss, mozzarella, or pepper jack for various flavors that complement the potato and egg base.
- → What is the best way to prepare shredded potatoes for this dish?
Shred russet potatoes using a box grater or food processor, then rinse and drain well to remove excess moisture for crispier results.
- → How long should I bake after adding eggs?
Bake the nests with eggs for 10-12 minutes until eggs are set to your liking but still tender.
- → Are there any suggested add-ins for variety?
Consider adding cooked bacon or sautéed vegetables to the filling for extra flavor and texture variations.
- → How should the nests be served?
Serve warm with optional garnishes like chopped chives and hot sauce, alongside a green salad or fresh fruit for balance.