 Save to Pinterest
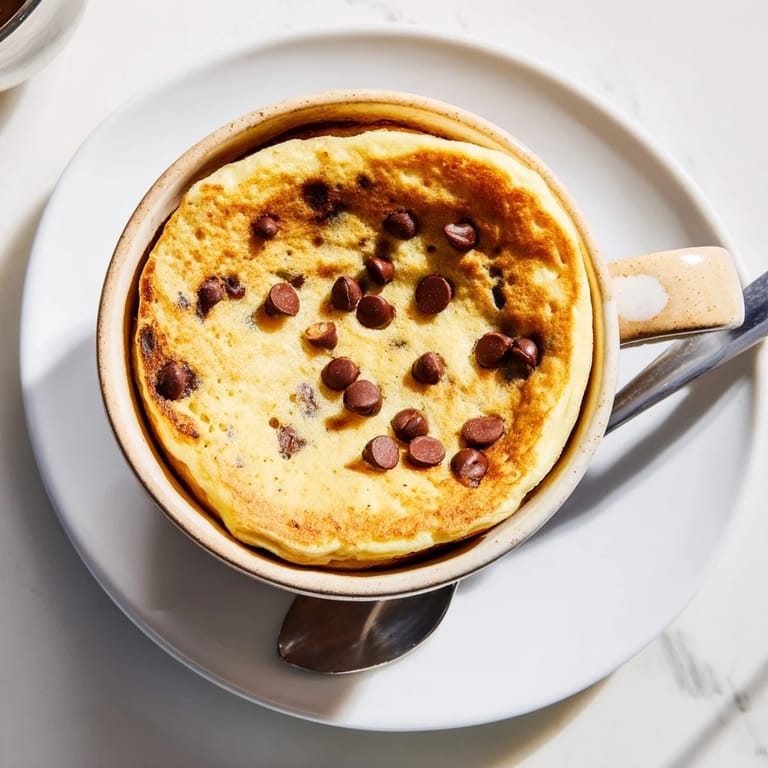
 My roommate in college introduced me to microwave mug cakes during finals week, but it took me years to realize the same technique works perfectly for pancakes. There's something incredibly satisfying about watching that batter puff up through the microwave door, knowing breakfast is ninety seconds away. I started making these when I moved into my first apartment and didn't want to dirty a whole skillet for just myself.
The first time I made these for my niece, she watched the microwave with such intense fascination I thought she was waiting for magic to happen. When it started rising, she actually gasped and said it was like science you can eat. Now whenever she sleeps over, that's our breakfast ritual.
Ingredients
- All-purpose flour: The structure here is crucial, and I've learned that measuring correctly instead of scooping directly makes the difference between fluffy and rubbery
- Baking powder: This is what creates those air pockets that make it feel like a real pancake instead of just a warm spongy blob
- Granulated sugar: Just enough to give it a subtle sweetness that balances with whatever toppings you choose
- Salt: Don't skip this, it's the secret that keeps the pancake from tasting flat and one-dimensional
- Milk: I've used everything from whole milk to oat milk and they all work, just don't use skim unless you like a denser result
- Unsalted butter: Melted butter adds that rich flavor we associate with diner pancakes, and greasing the mug prevents sticking disasters
- Vanilla extract: Pure vanilla makes it taste like you put way more effort into this than you actually did
- Mini chocolate chips or blueberries: The add-ins sink slightly as it cooks, creating those perfect flavor pockets throughout
Tired of Takeout? 🥡
Get 10 meals you can make faster than delivery arrives. Seriously.
One email. No spam. Unsubscribe anytime.
Instructions
- Prep your mug:
- Butter that mug thoroughly, including up the sides a bit, because nothing ruins a quick breakfast like having to chisel your pancake out of ceramic.
- Combine the dry ingredients:
- Whisk the flour, baking powder, sugar, and salt right in the mug until you can't see any white powder streaks anymore.
- Add the wet ingredients:
- Pour in the milk, melted butter, and vanilla, then stir until just combined but still slightly lumpy, like you would with regular pancake batter.
- Fold in your add-ins:
- Gently fold in chocolate chips or blueberries, being careful not to overmix since that's the fastest way to make it tough instead of tender.
- Microwave:
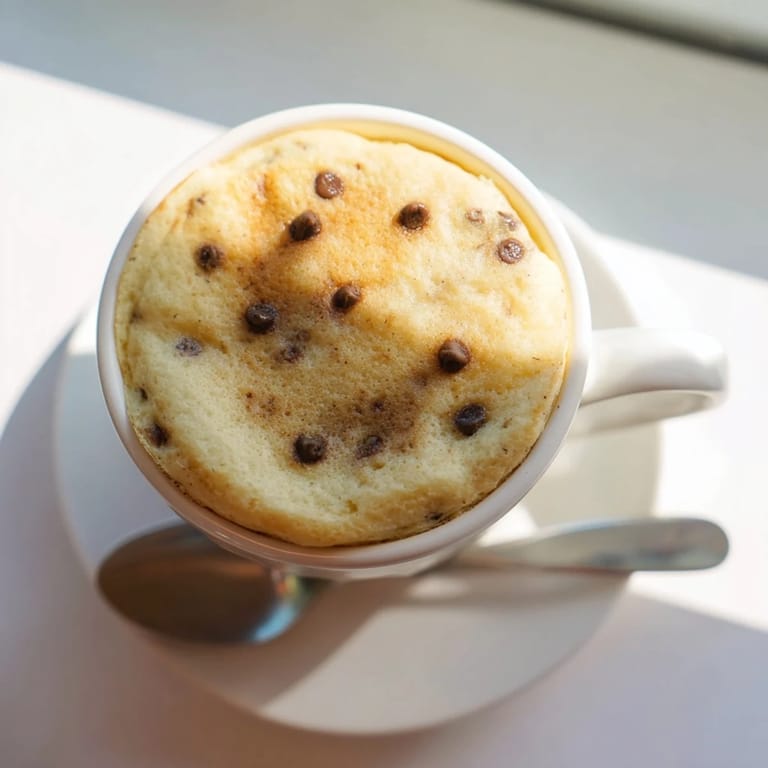
- Nuke it on high power for 90 seconds, watching it rise dramatically like a science experiment, though every microwave runs slightly different so check at 75 seconds.
- Let it rest:
- Wait exactly one minute before diving in because it continues cooking slightly and also burning the roof of your mouth ruins the whole experience.
 Save to Pinterest
 These became my go-to when I started working from home and needed something that felt like a real breakfast but could be made during my coffee brewing time. Some mornings I make them just because the ritual feels grounding.
Getting The Right Texture
The most common mistake I see people make is overmixing the batter, which activates the gluten and gives you a dense, chewy result instead of something light and fluffy. I stop stirring as soon as I don't see obvious flour pockets, even if it looks a little uneven.
Topping Combinations
Butter and maple syrup is classic for a reason, but I've discovered that peanut butter and banana slices makes it feel almost decadent. Sometimes I just do a dollop of Greek yogurt and a drizzle of honey when I want to pretend I'm making healthy choices.
Making It Yours
Once you've mastered the basic version, start experimenting with different extracts like almond or lemon to completely change the flavor profile. I've made a pumpkin spice version by adding pumpkin pie spice and swapping half the milk for pumpkin puree.
- Sprinkle cinnamon sugar on top before microwaving for a crispy top layer
- Add a tablespoon of peanut butter to the batter for protein and richness
- Try different flours like whole wheat pastry flour for more nutrients
 Save to Pinterest
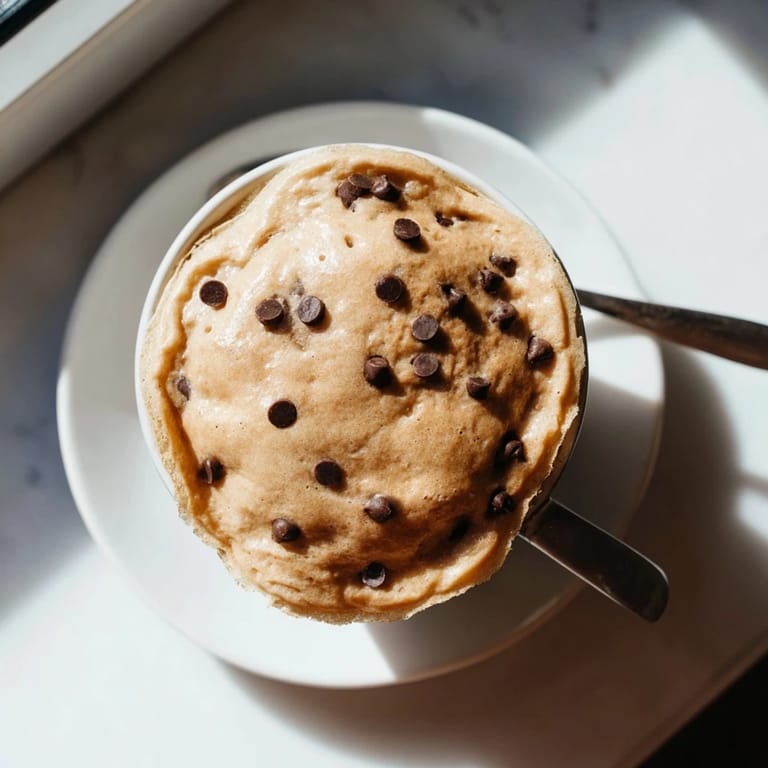
 Sometimes the simplest recipes are the ones that stick with you, proving that comfort food doesn't need to be complicated to feel special.
Recipe FAQs
- → Why does my mug pancake turn out rubbery?
Overmixing the batter creates a tough, rubbery texture. Stir ingredients just until combined and no visible flour remains. A few small lumps are perfectly fine and actually help keep the result tender.
- → Can I double this recipe?
This portion is designed for one large mug (at least 12 oz). Doubling may overflow during microwaving. Instead, make two separate mugs or use a wider microwave-safe bowl if increasing the quantity.
- → What size mug works best?
Use a large microwave-safe mug holding at least 12 ounces. The batter needs room to rise while cooking. Standard coffee mugs are often too small and may cause overflow.
- → How do I know when it's done cooking?
The pancake is ready when it has risen significantly and the center appears set rather than wet or jiggly. Cooking times vary by microwave, so start with 90 seconds and add 10-15 second intervals if needed.
- → Can I make this dairy-free?
Absolutely. Substitute plant-based milk for regular milk and use coconut oil or vegetable oil instead of butter. The texture remains fluffy and delicious with these simple swaps.
- → Why let it cool before eating?
Resting for one minute allows the structure to set and makes eating safer and more enjoyable. The mug retains heat, so this brief cooling period prevents burning your mouth.